Footwear Store Setup
Run a shoe shop in BazaarPOS: keep every size and colour in stock, find a size in seconds, remember each customer's fit, exchange a size and note why, stock a whole box by its size ratio, and keep sole warranty and reminders in one place.
How it fits together
You keep your normal Items, Customers, billing, returns, lay-by and repairs. Nothing is entered twice. A shoe is an ordinary item: its sizes and colours are the item's variants, each with its own barcode, price and stock. The Footwear section adds what a shoe shop needs on top:
- Footwear Finder: find an article by size, colour, type, brand or season, with a size converter.
- Size Exchanges: note why a pair came back, and see which articles run small or large.
- Foot Profiles, Sole Warranty, Reminders and Receive Boxes.
- Sizes & Stock: the size × colour grid, odd sizes, size wishlist, markdown rules, fast and slow sizes and more.
Amounts, dates and tax follow your shop's country and tax settings. The same screens work in any country. Size charts cover UK, EU, US and cm.
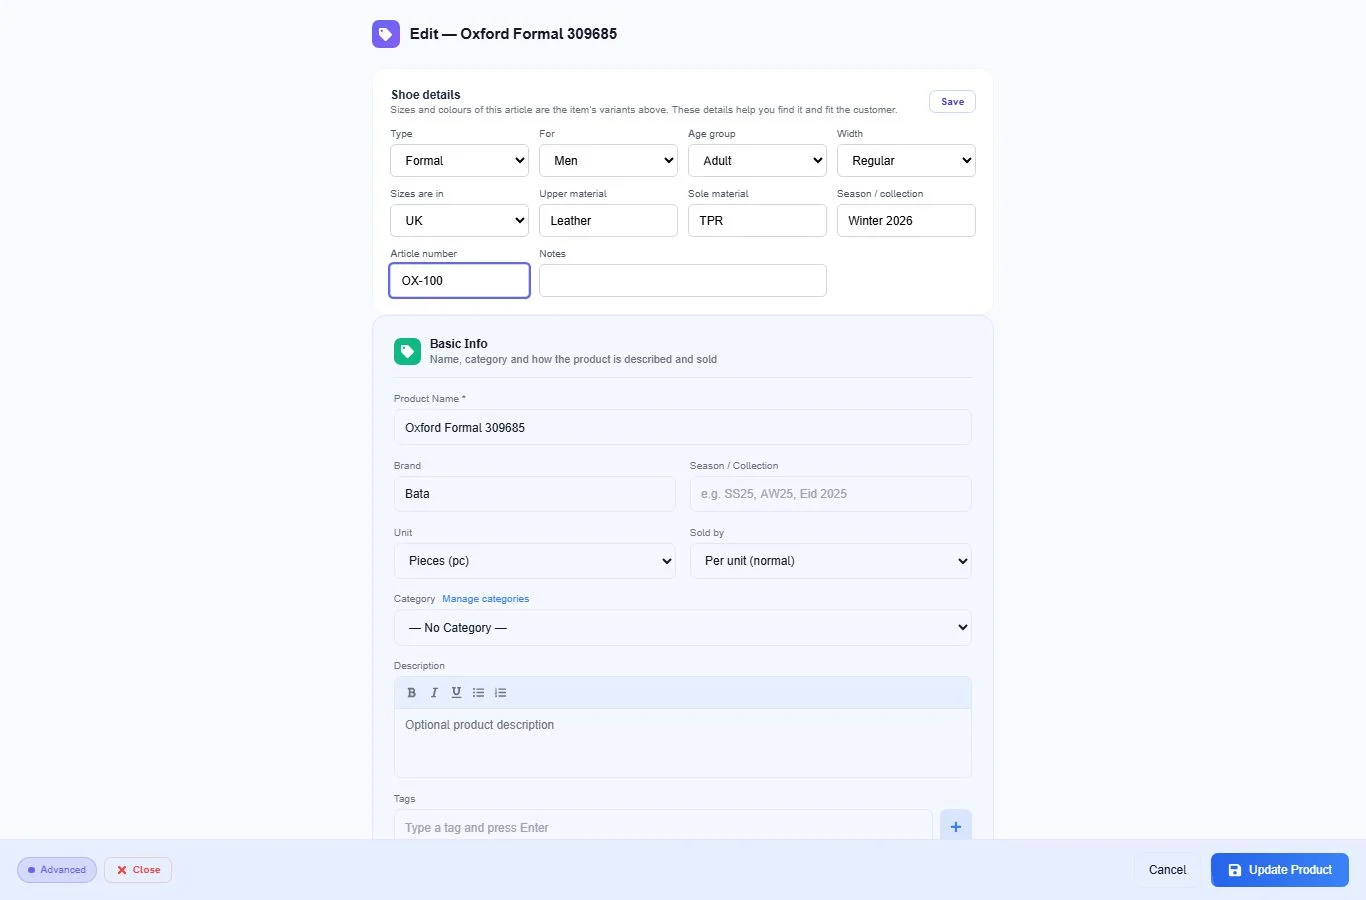
Step 1: Add your shoes as items
Open Items and add each article as an item. When you open a saved item, a Shoe details card appears at the top: type (formal, casual, sports, sandal…), who it is for, age group, width, the size system the sizes are written in, upper and sole material, season and article number. Press Save on the card. These details make the article easy to find.
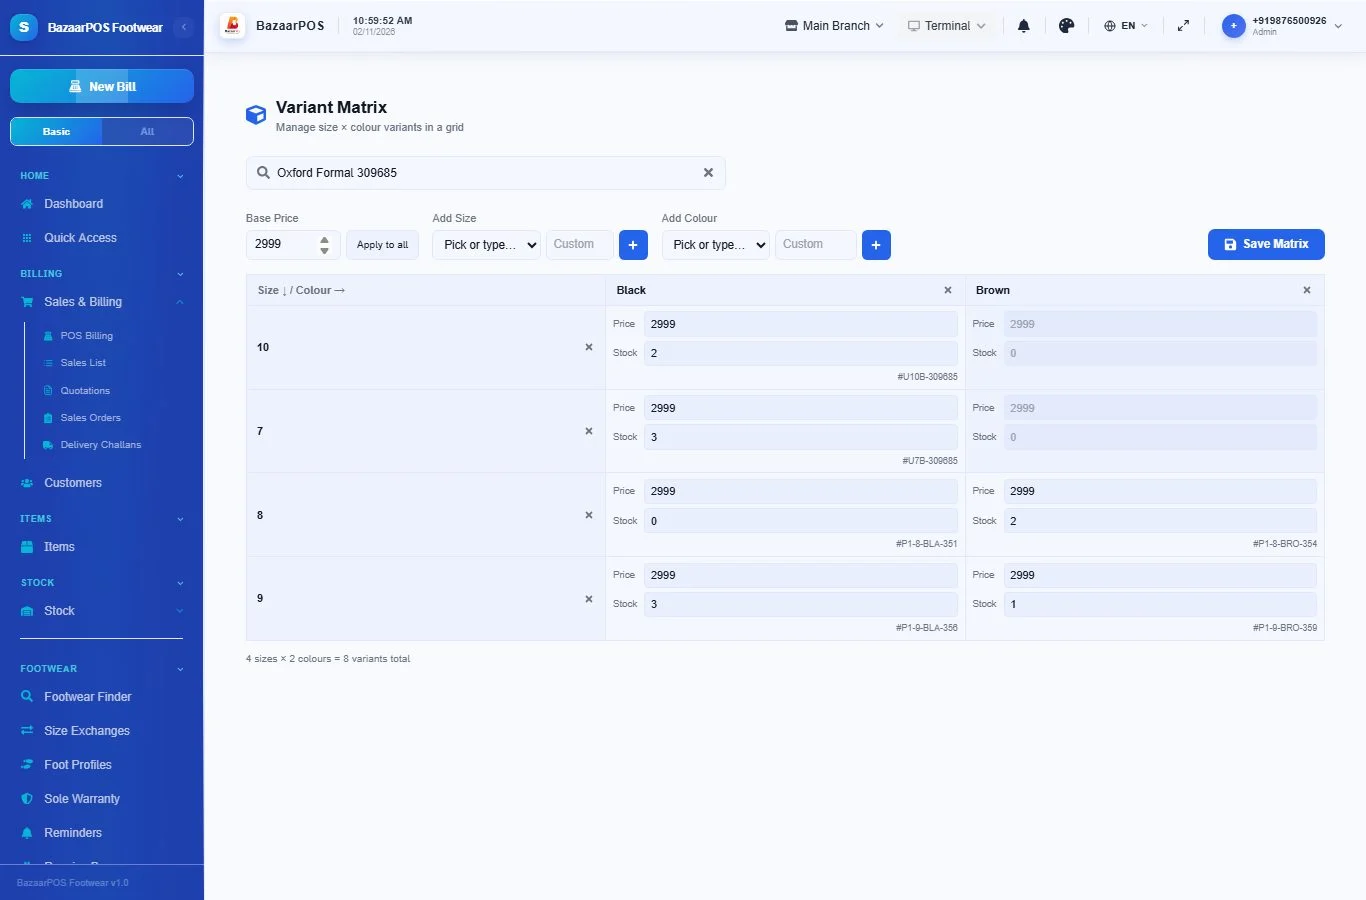
Step 2: Fill the size and colour grid
Open Sizes & Stock → Size × Colour Grid and search for the article. Add the sizes down the side and the colours across the top, then type the price and stock in each box and press Save Matrix. Each box becomes a variant with its own code, so billing and barcode labels work per size and colour.
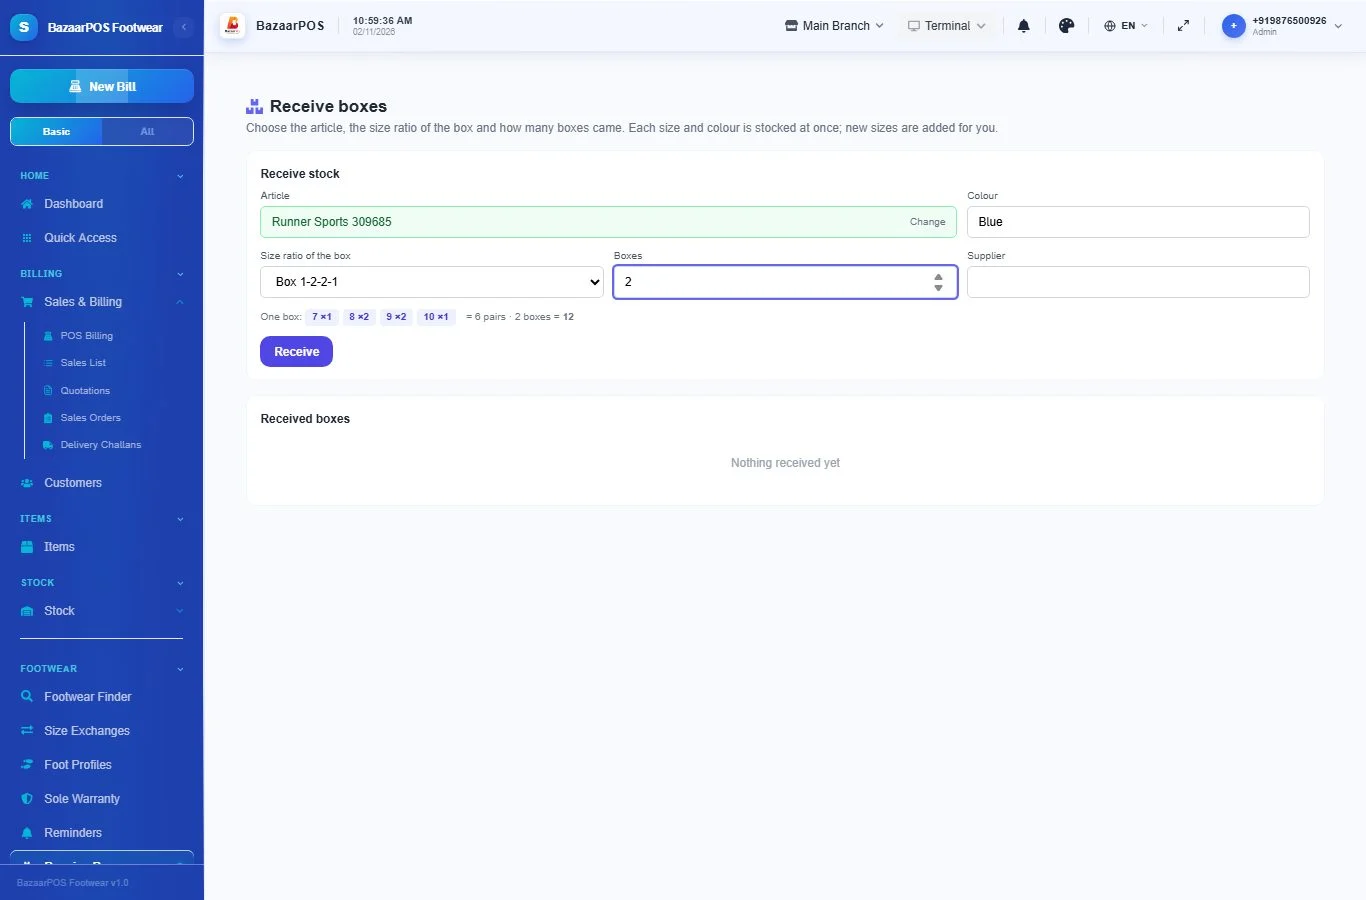
Step 3: Receive boxes by size ratio
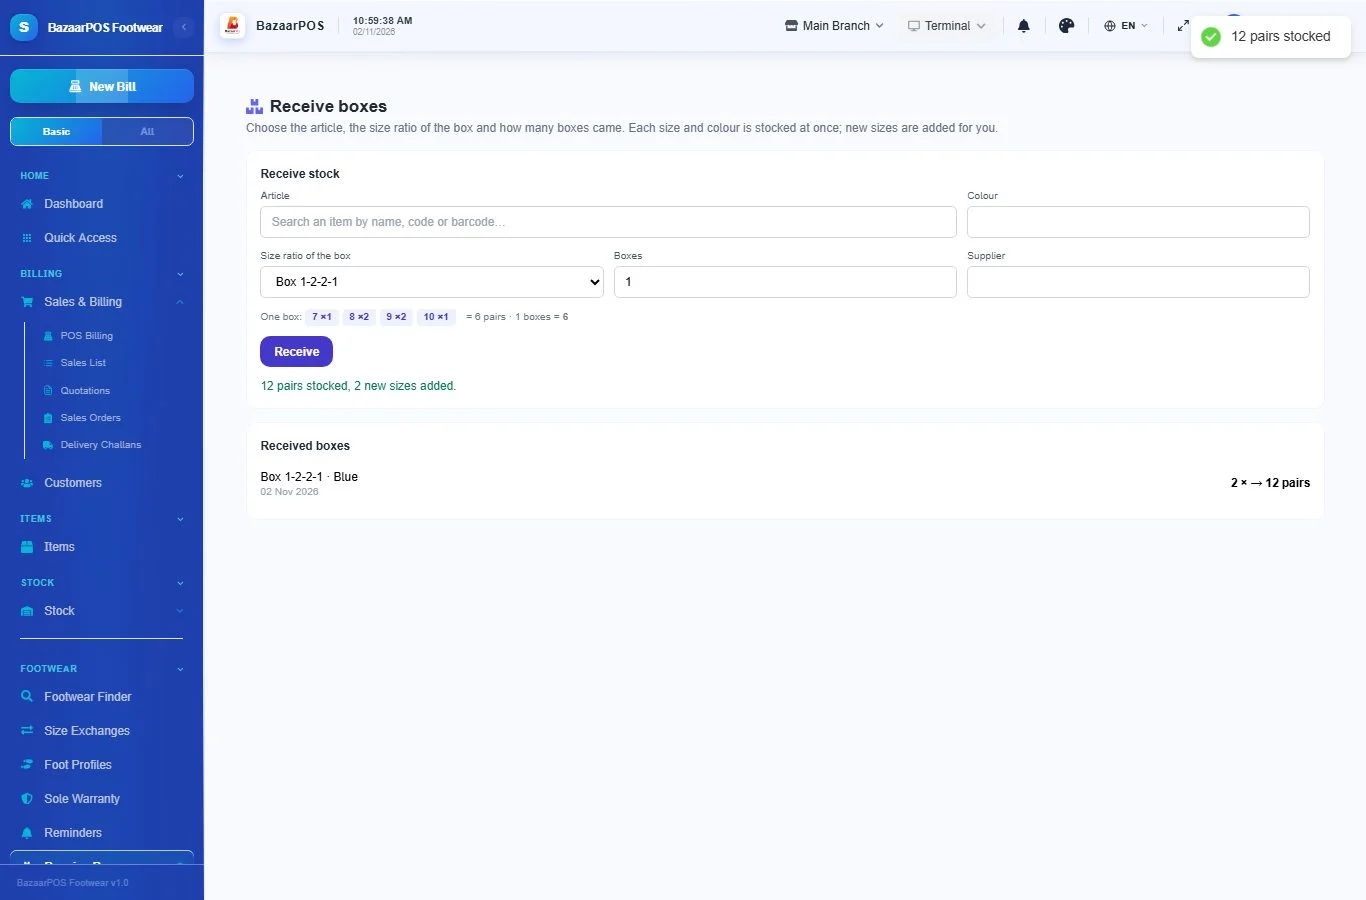
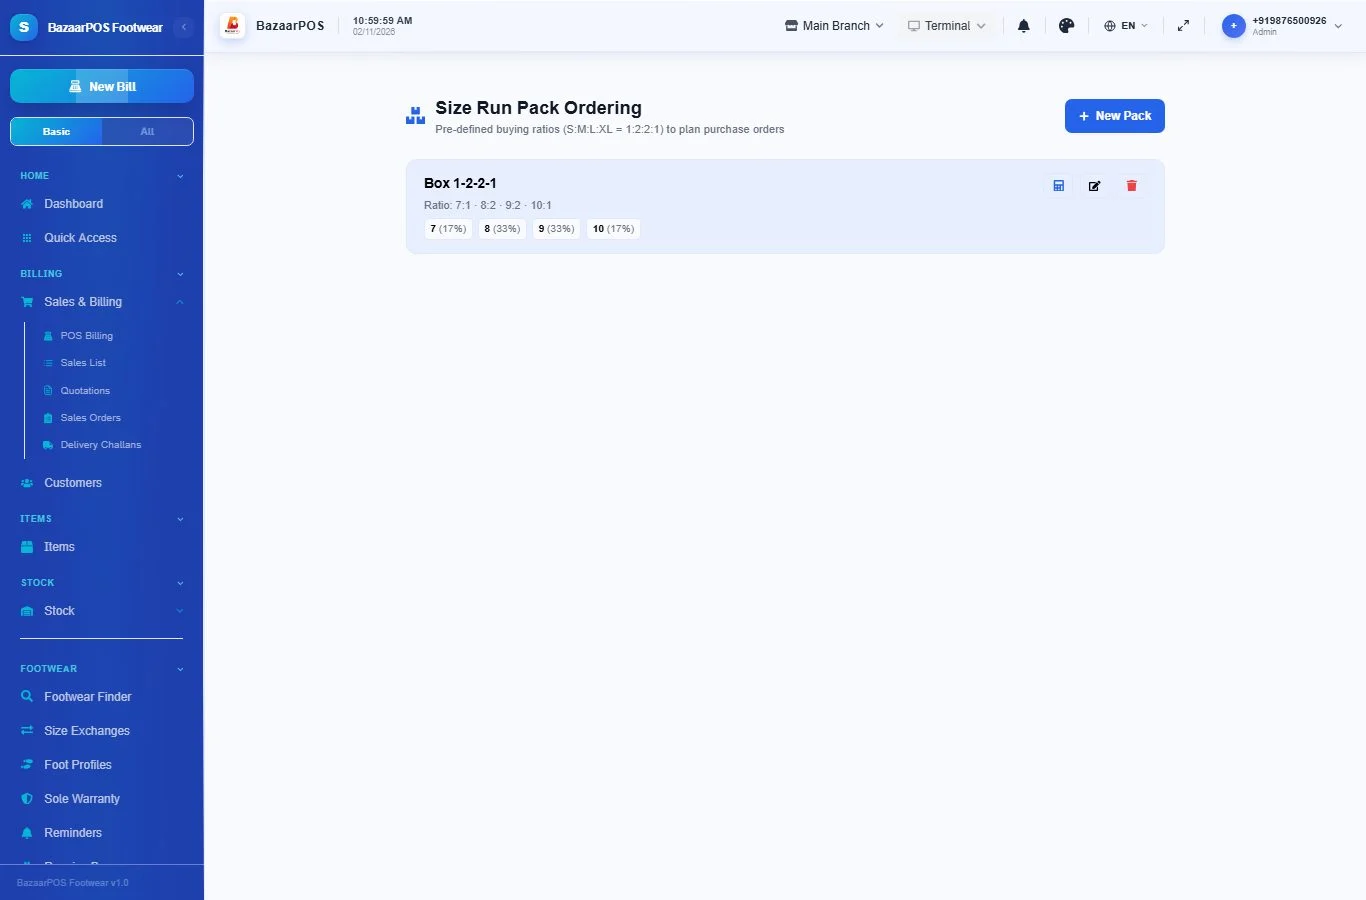
Shoes come in boxes with a fixed spread of sizes. First add the spread under Sizes & Stock → Size Run Packs (for example sizes 7, 8, 9 and 10 in the ratio 1:2:2:1). Then open Footwear → Receive Boxes, choose the article, the colour, the pack and how many boxes came, and press Receive. Every size is stocked at once, and a size that is new for that colour is added for you.
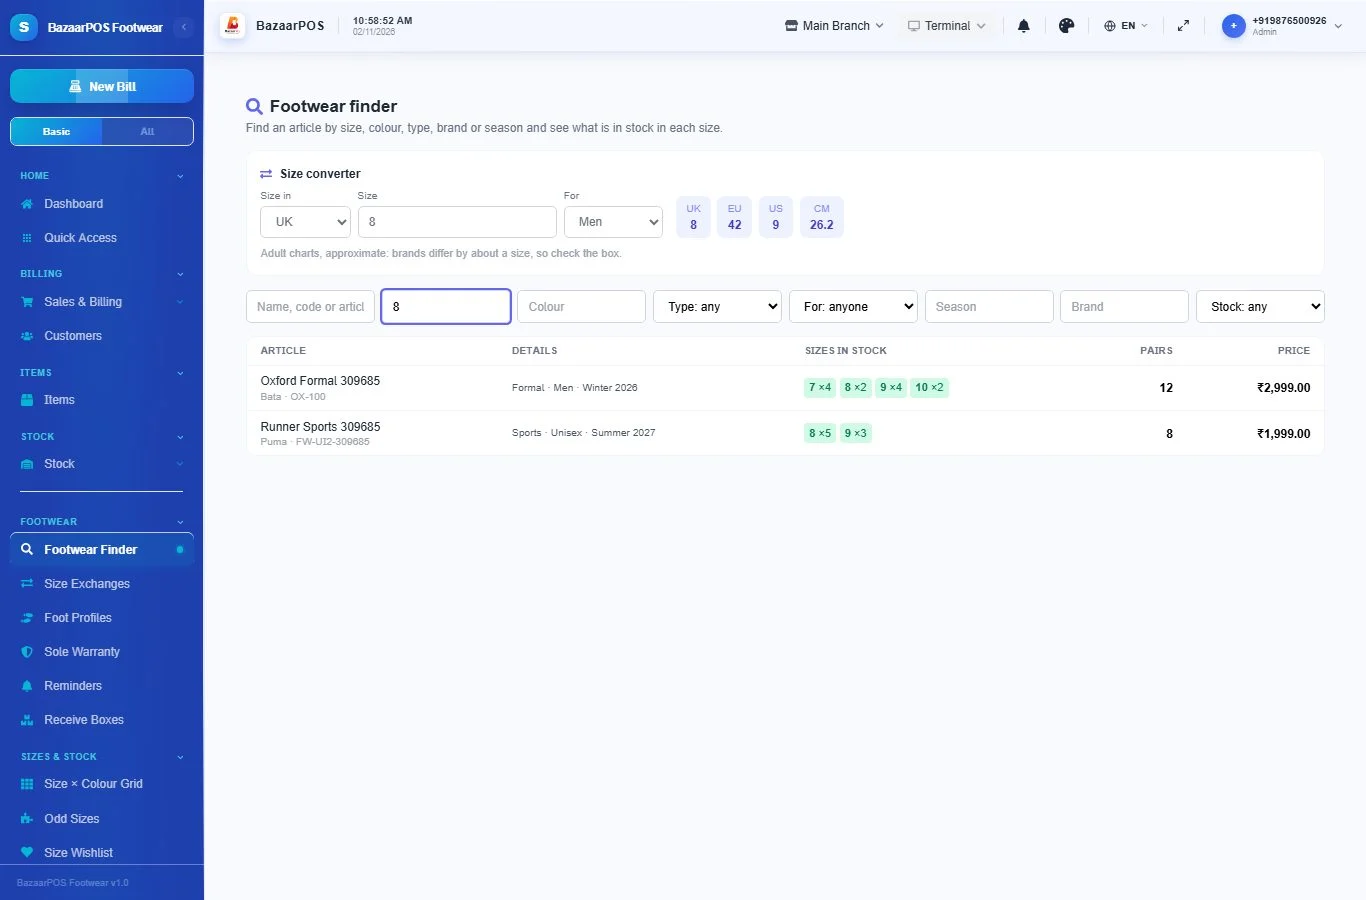
Step 4: Find a size
Open Footwear → Footwear Finder. Filter by size, colour, type, who it is for, season, brand, or only what is in stock. Each article shows its sizes as small tags, green when there is stock and crossed out when there is none, with the number of pairs. The size converter at the top turns a size in one system into UK, EU, US and cm. The charts are for adults and are approximate, because brands differ by about a size, so check the box.
Step 5: Remember the customer's fit
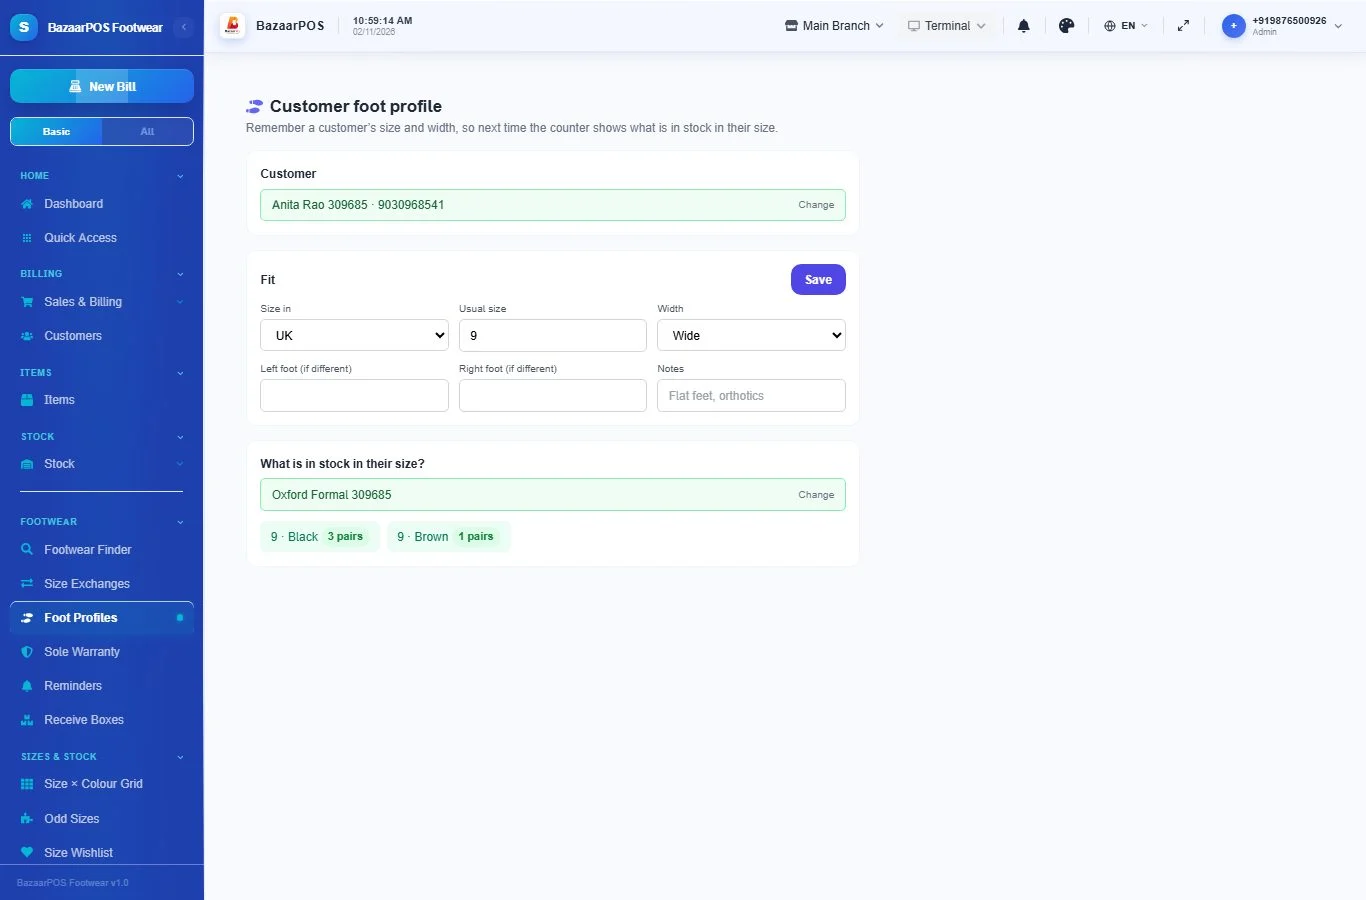
Open Footwear → Foot Profiles, choose the customer, and write their usual size, width and, if they differ, their left and right foot. Press Save. Then search an article to see what is in stock in their size, with the colours.
Step 6: Use the profile when billing
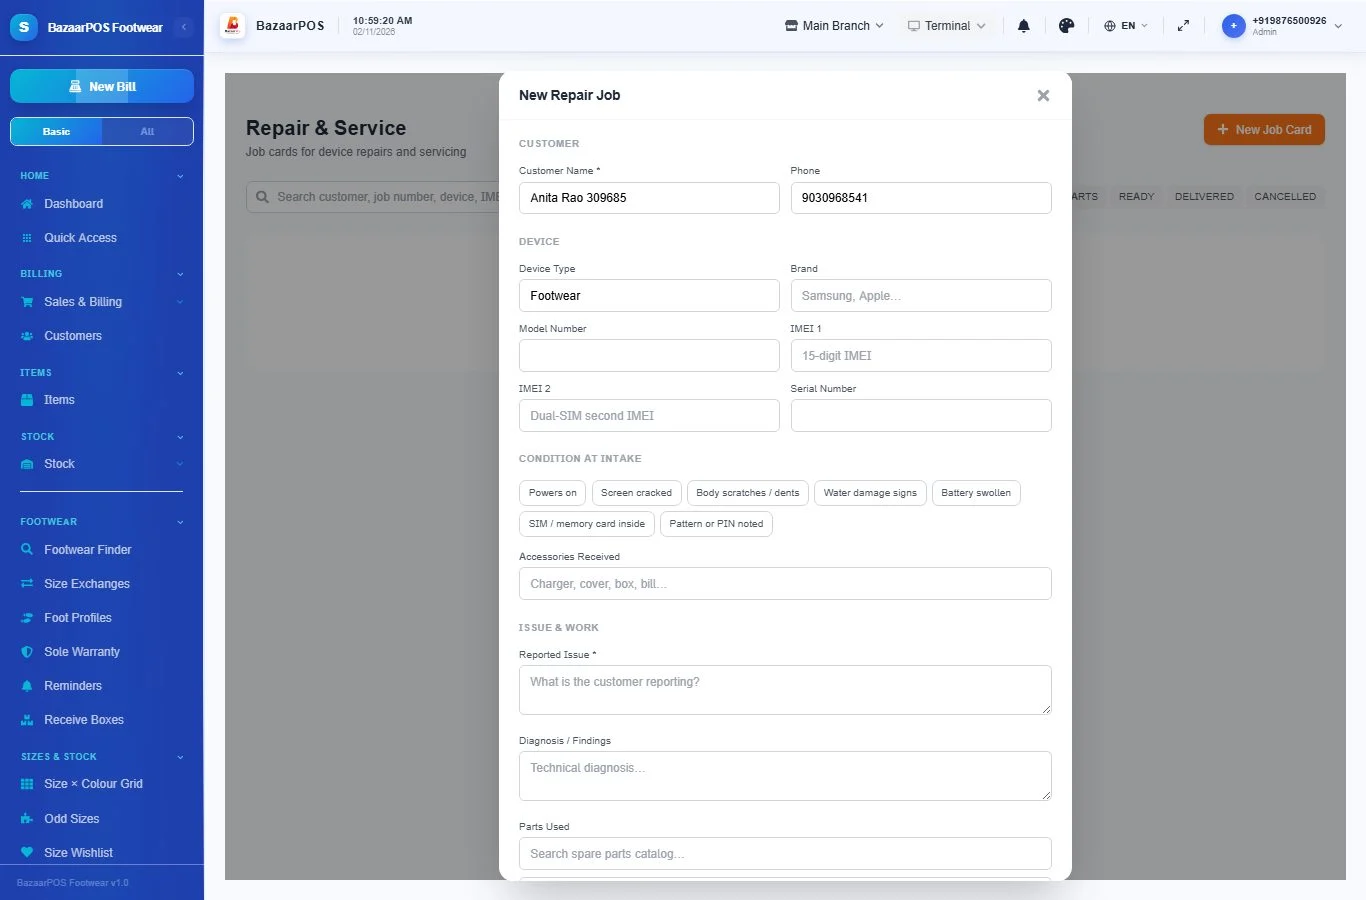
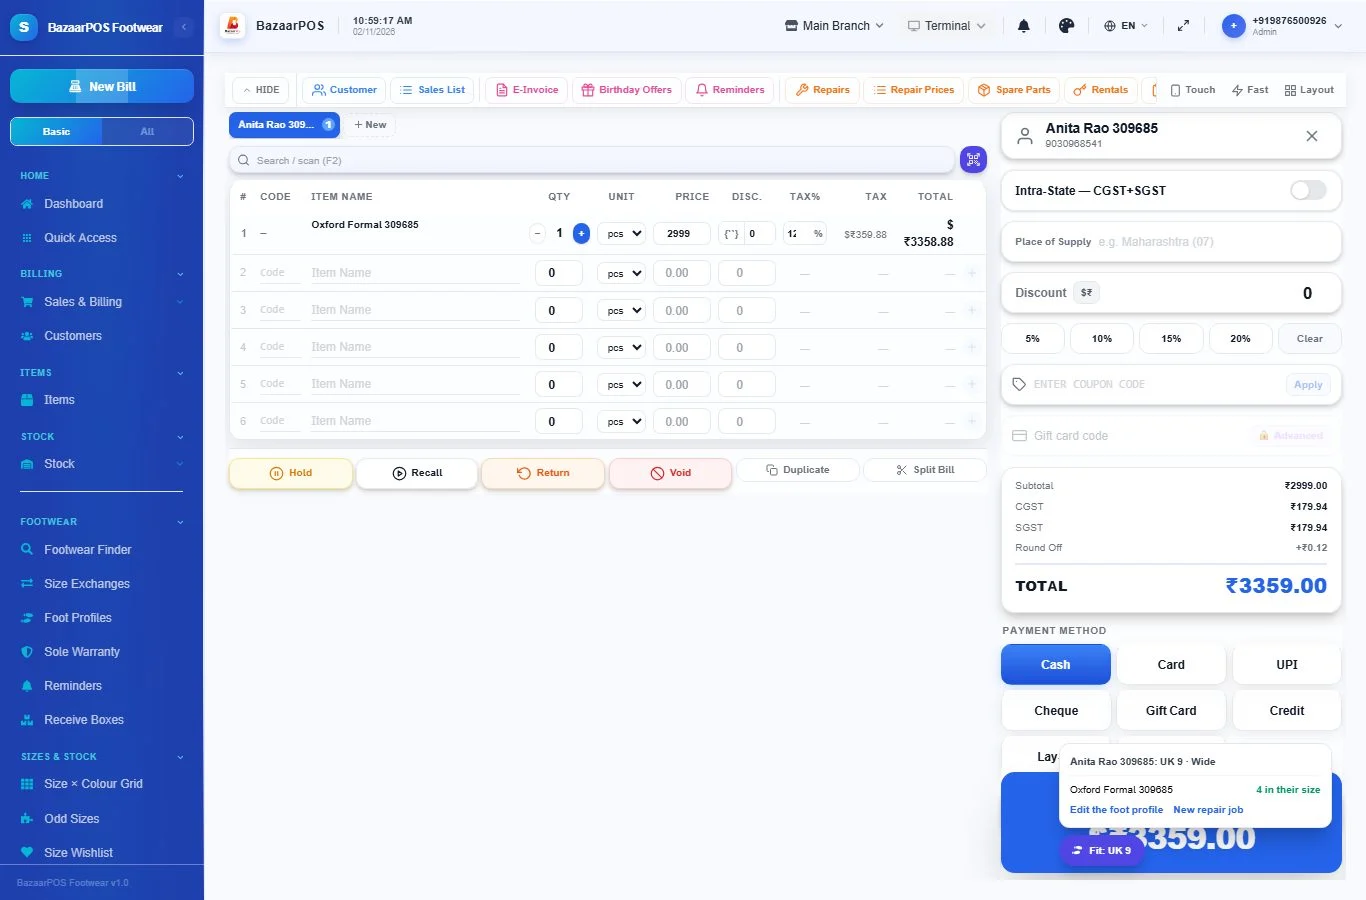
In the normal billing screen, once you choose a customer who has a foot profile, a Fit button shows their size. Open it to see how many pairs of each article on the bill are in their size, before you finish the sale. The same panel has New repair job, which opens the repair screen already filled in with the customer's name and phone, ready for a sole or stitching repair. Every size you sell comes off that size's own stock, so the finder and the Fit panel stay right as you bill.
Step 7: Exchange a size and note why
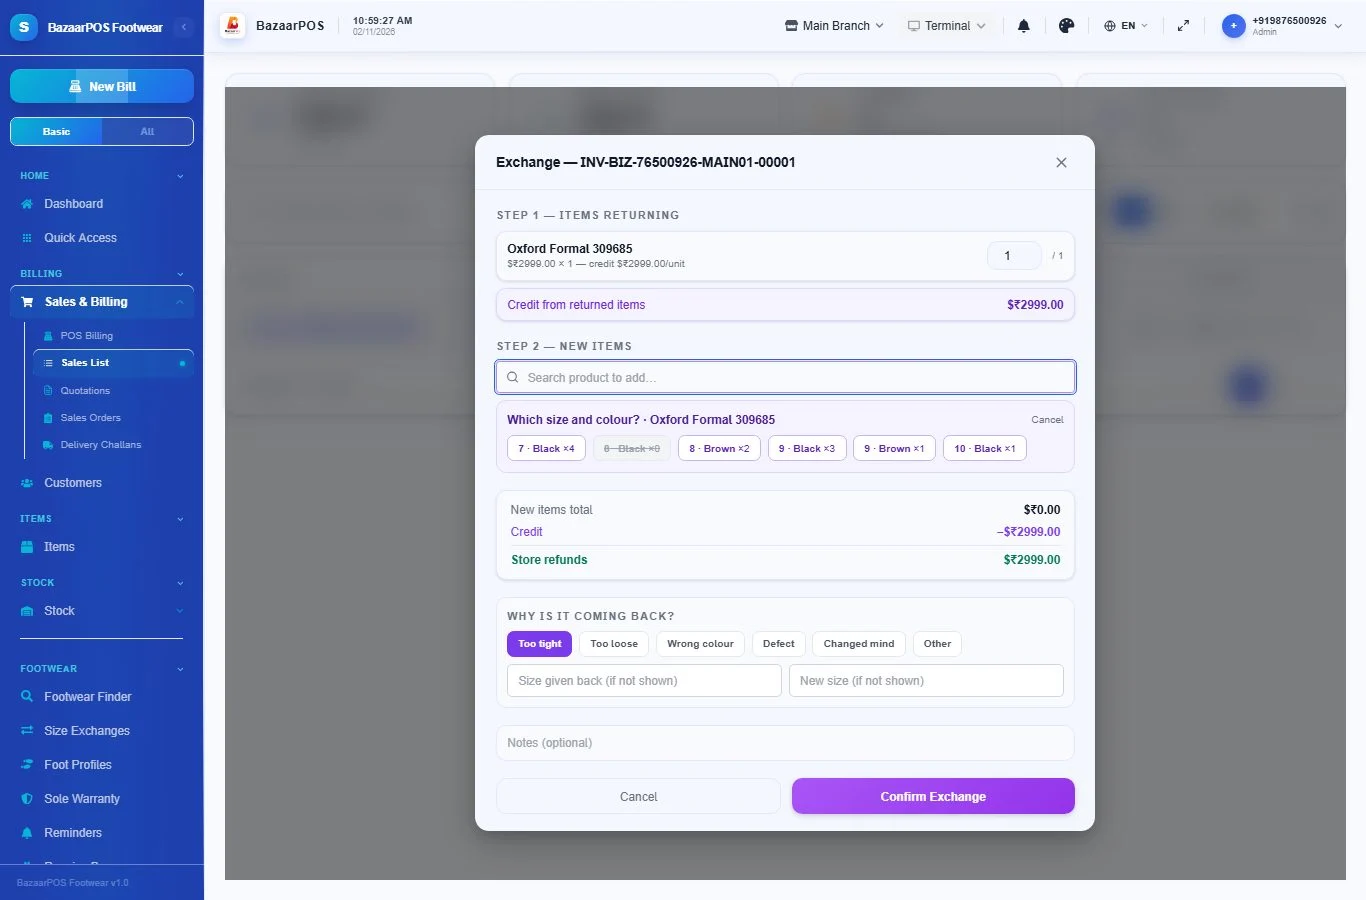
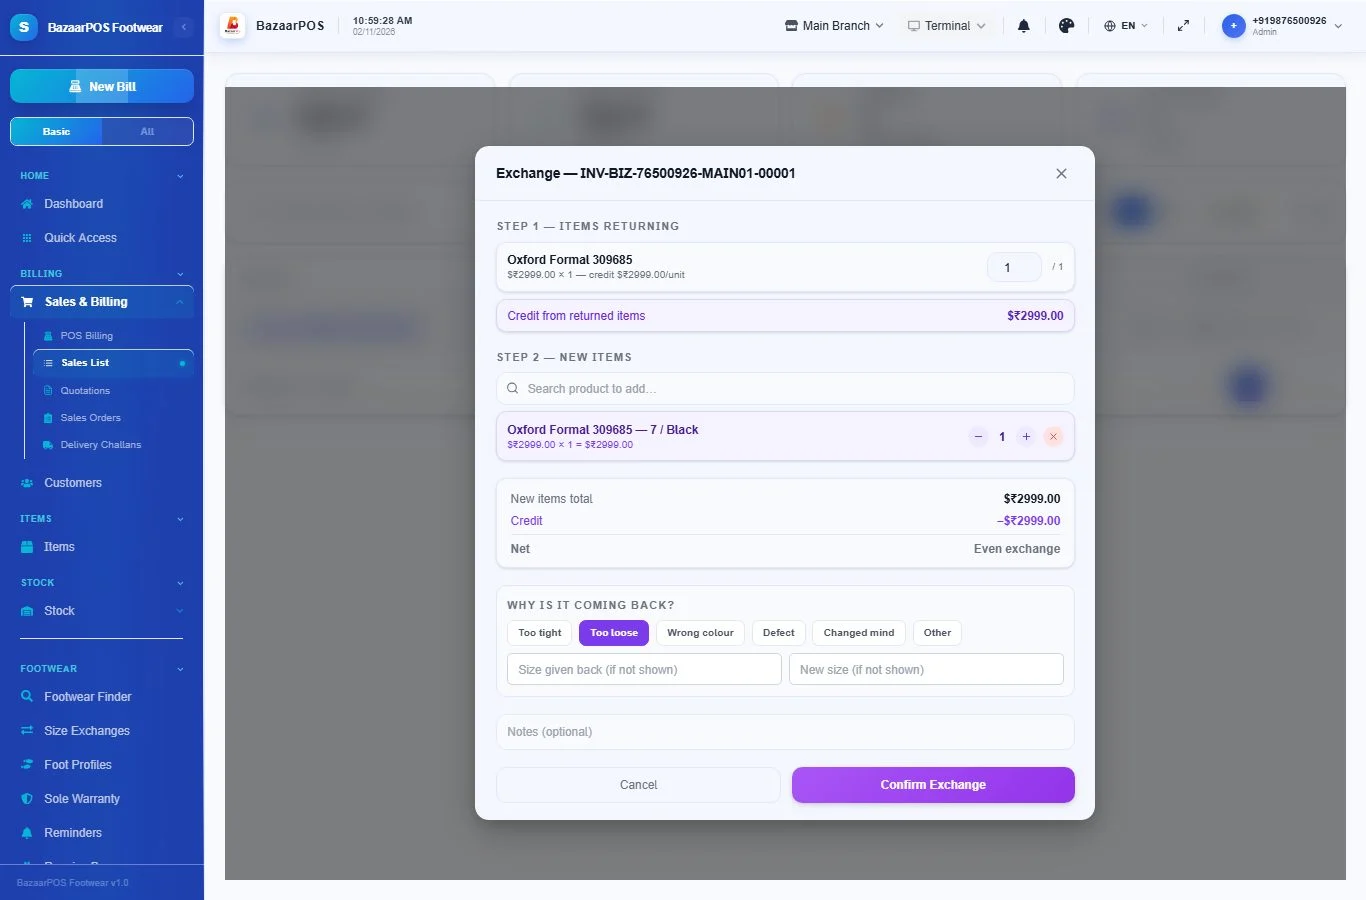
Open Sales & Billing → Sales List, find the bill and press the exchange button. Enter how many pairs come back, then search the article you are giving instead: a list of its sizes and colours appears, with the pairs in stock, and you tap the one the customer takes. Choose why it is coming back (too tight, too loose, wrong colour, defect, changed mind or other) and press Confirm Exchange. The returned size goes back on the shelf, the new size comes off, and the reason is kept with both sizes for the report.
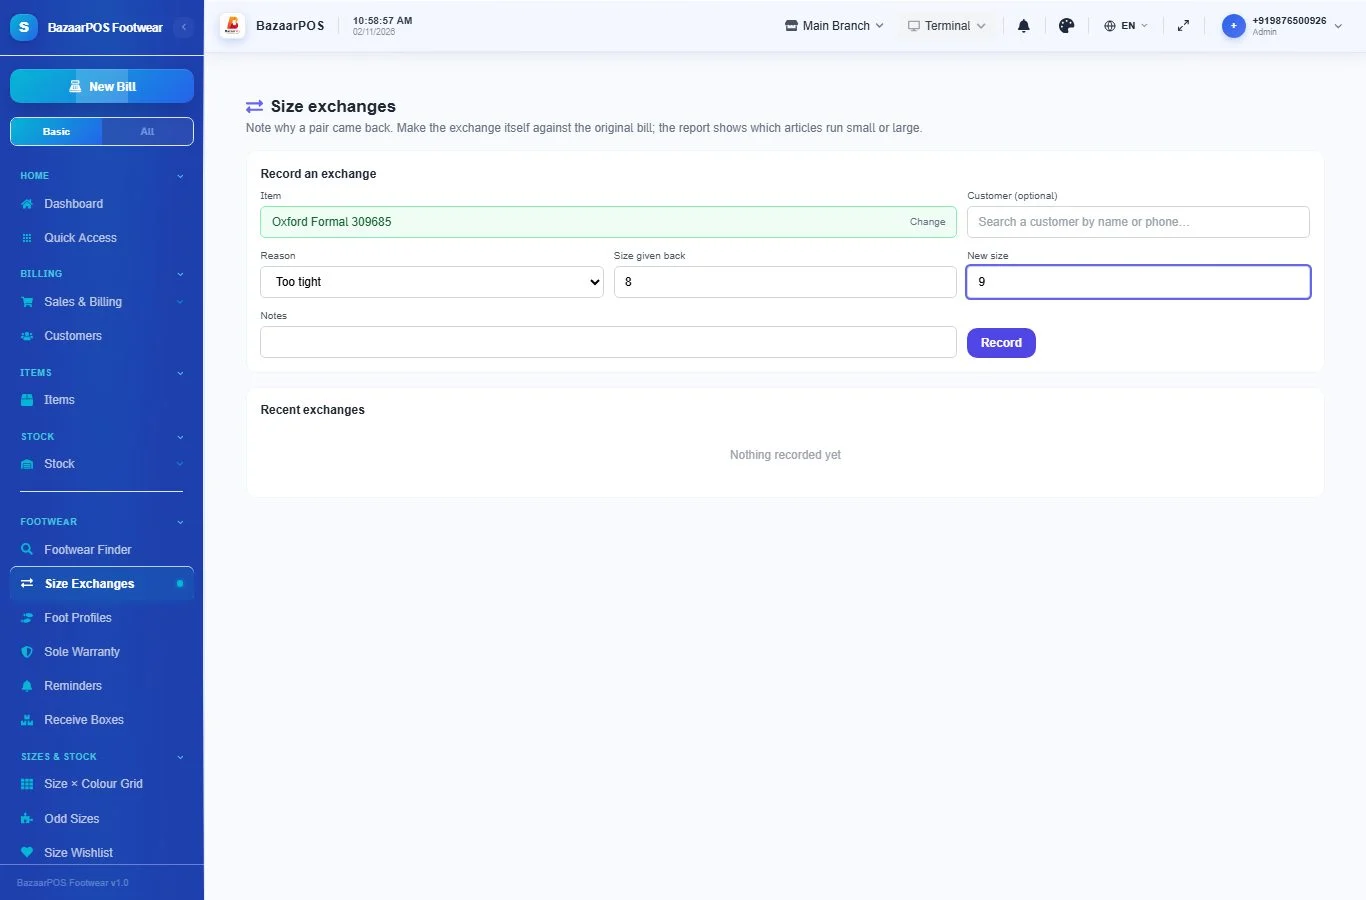
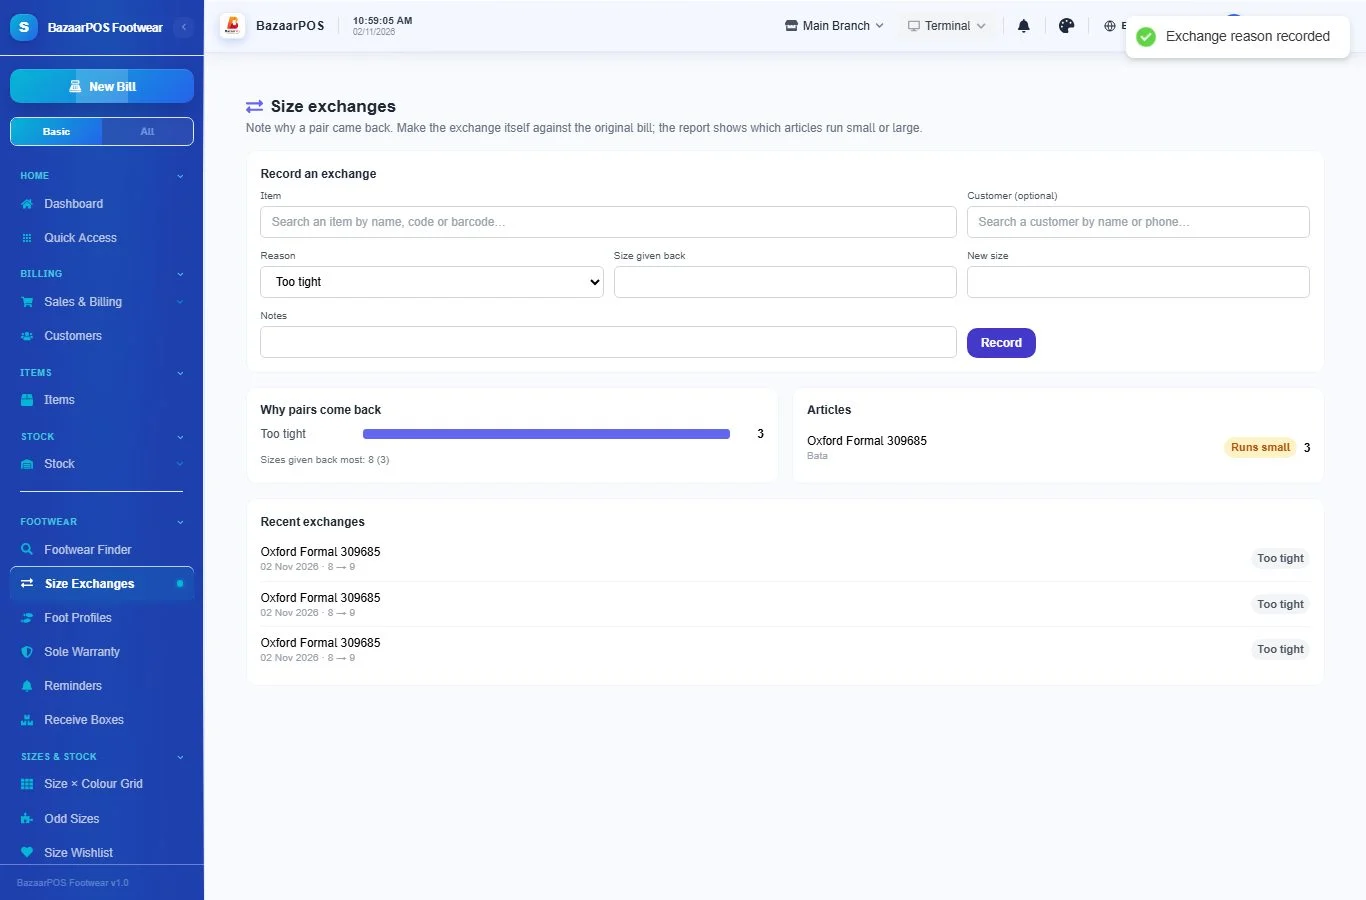
You can also record a reason by hand under Footwear → Size Exchanges: choose the article, the reason and, if needed, the two sizes. For a defect or wrong colour you do not need to write sizes.
Step 8: Read the exchange report
The same screen shows why pairs come back, the sizes given back most, and a list of articles. An article that comes back too tight three times more often than too loose is marked Runs small (and the other way round, Runs large). Use it when you reorder.
Step 9: Sole warranty
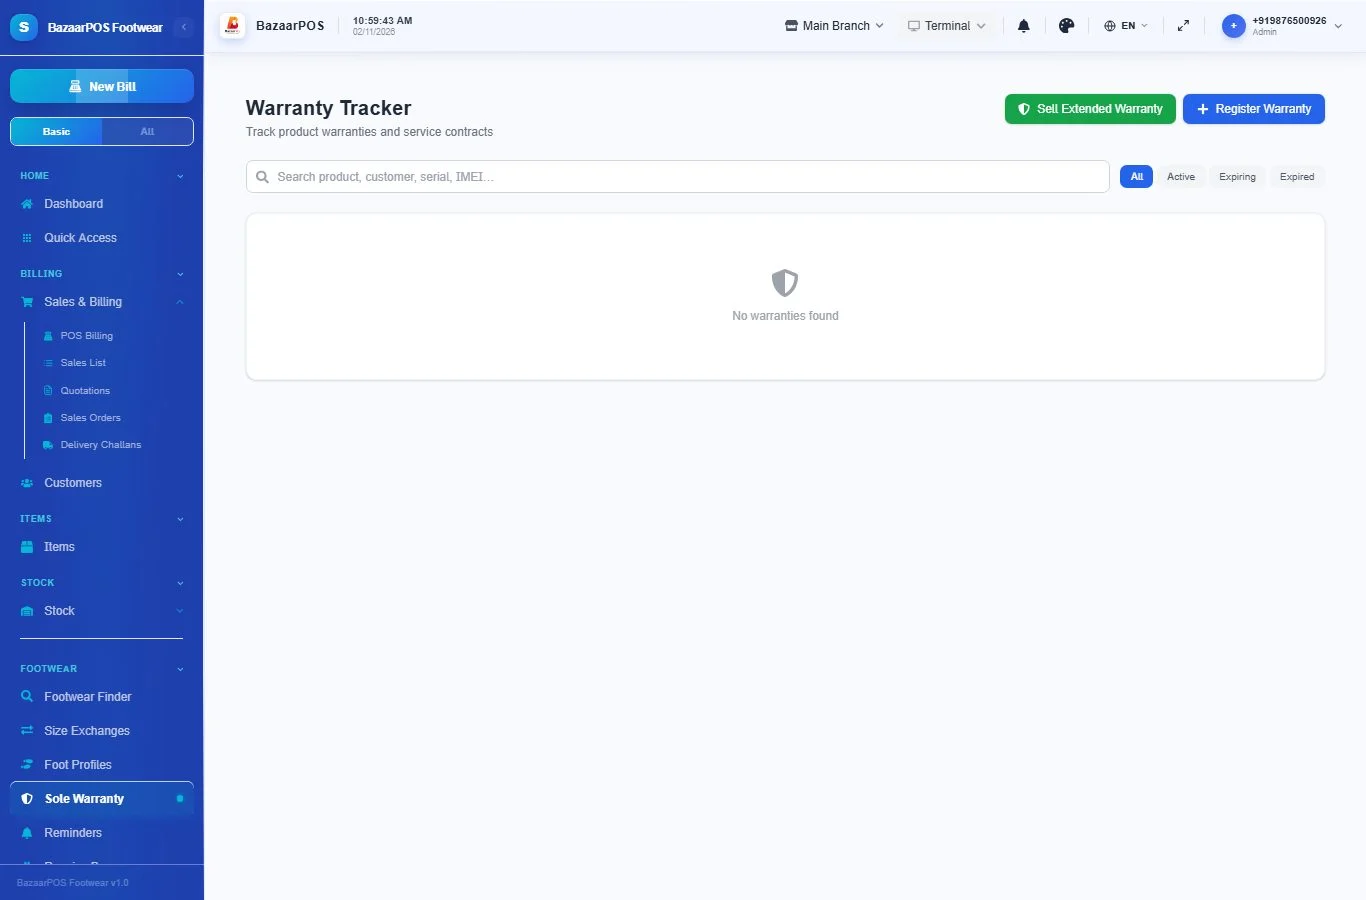
Open Footwear → Sole Warranty to register a warranty on the sole or stitching of a pair, with a certificate, claims and renewal. It is the same warranty register other shops use.
Step 10: Reminders
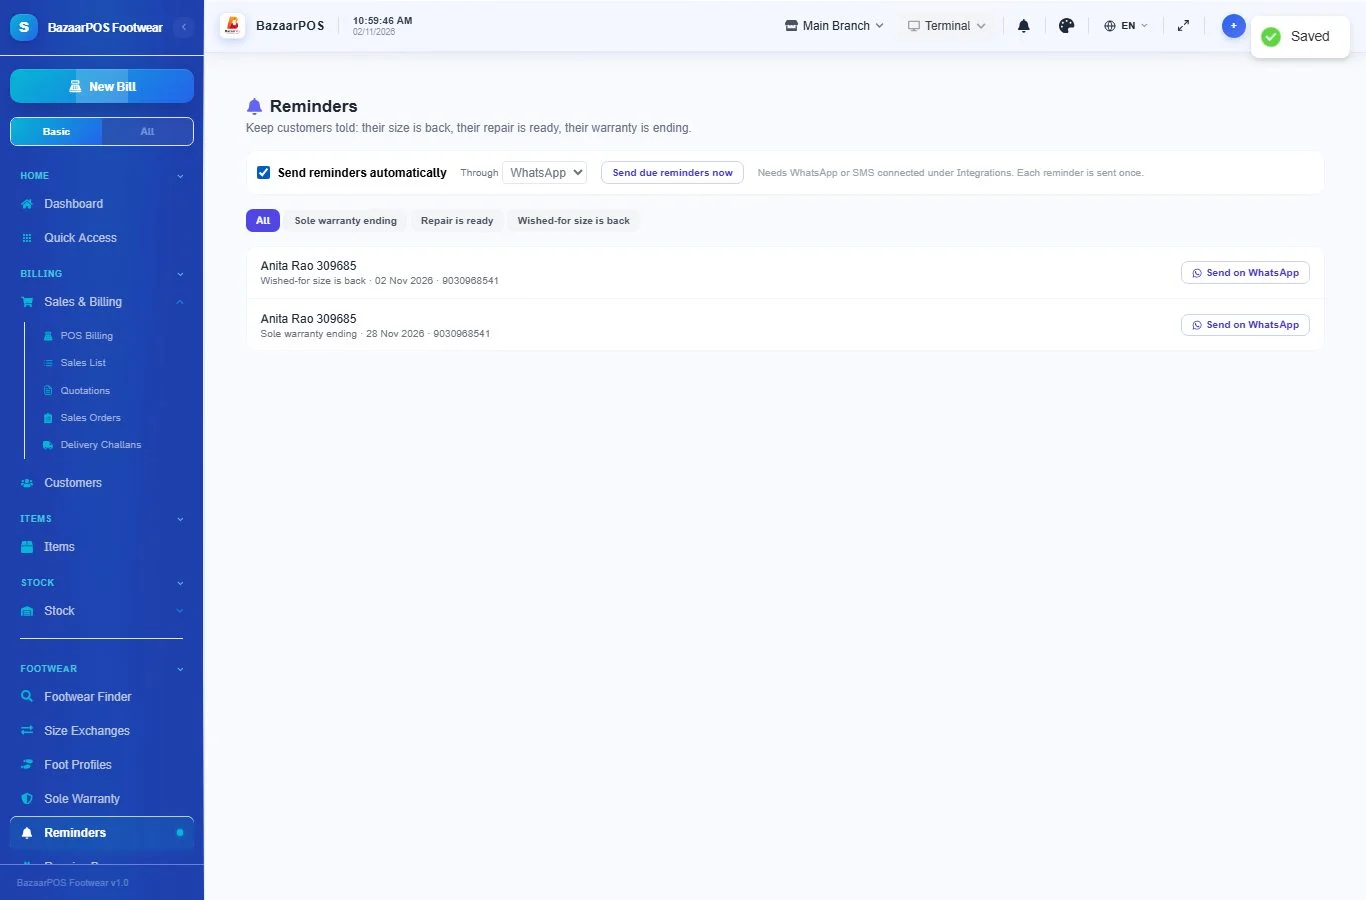
Open Footwear → Reminders. It lists customers to tell: a size they wished for is back in stock, a repair is ready, or a sole warranty is ending. One tap sends the message on WhatsApp. Tick Send reminders automatically to let the app send them for you through WhatsApp or SMS (connect them under Integrations). Each reminder is sent once. Customers wish for a size under Sizes & Stock → Size Wishlist.
Step 11: Odd sizes and markdowns
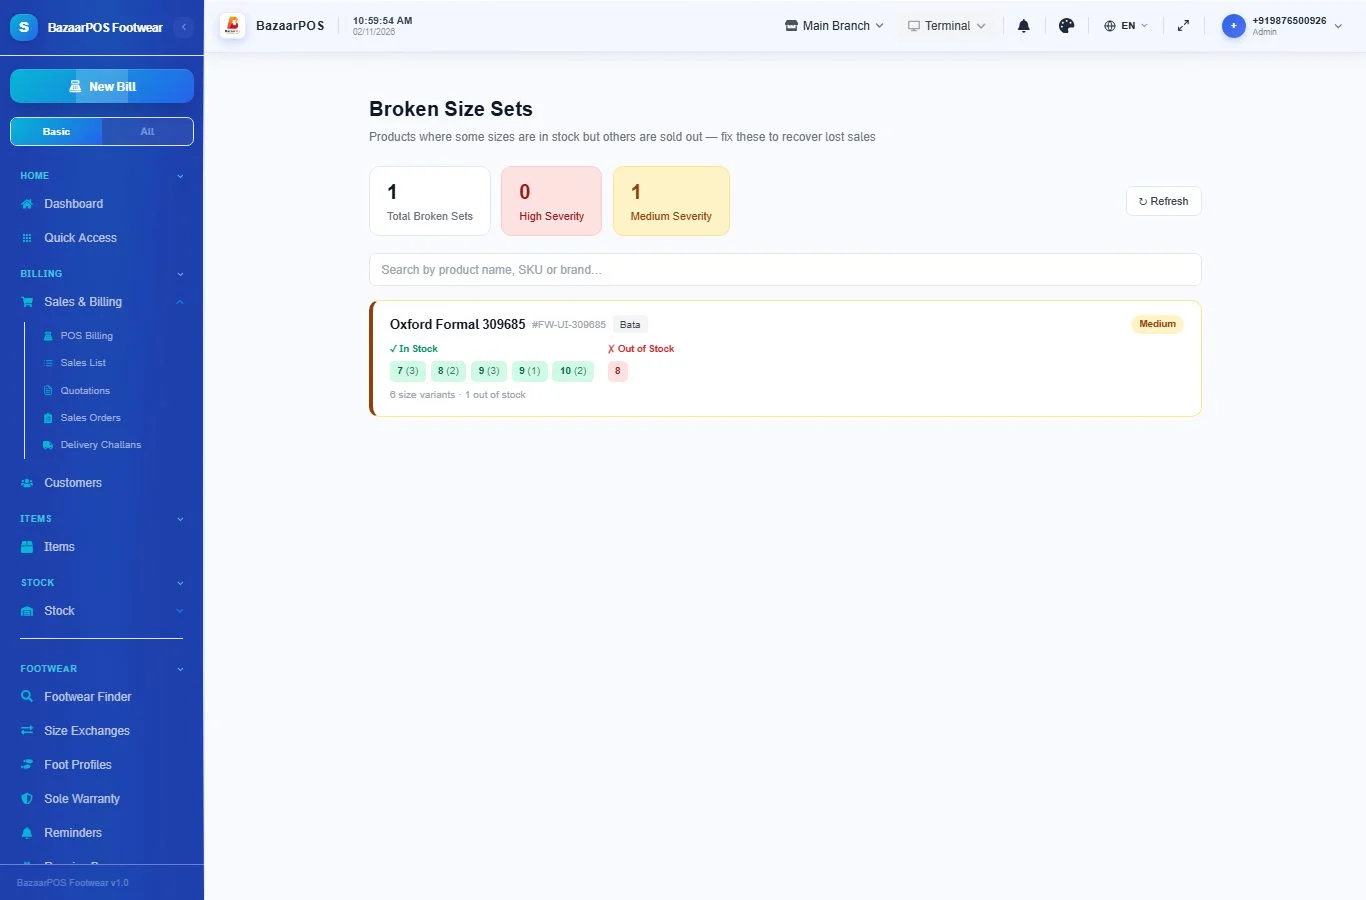
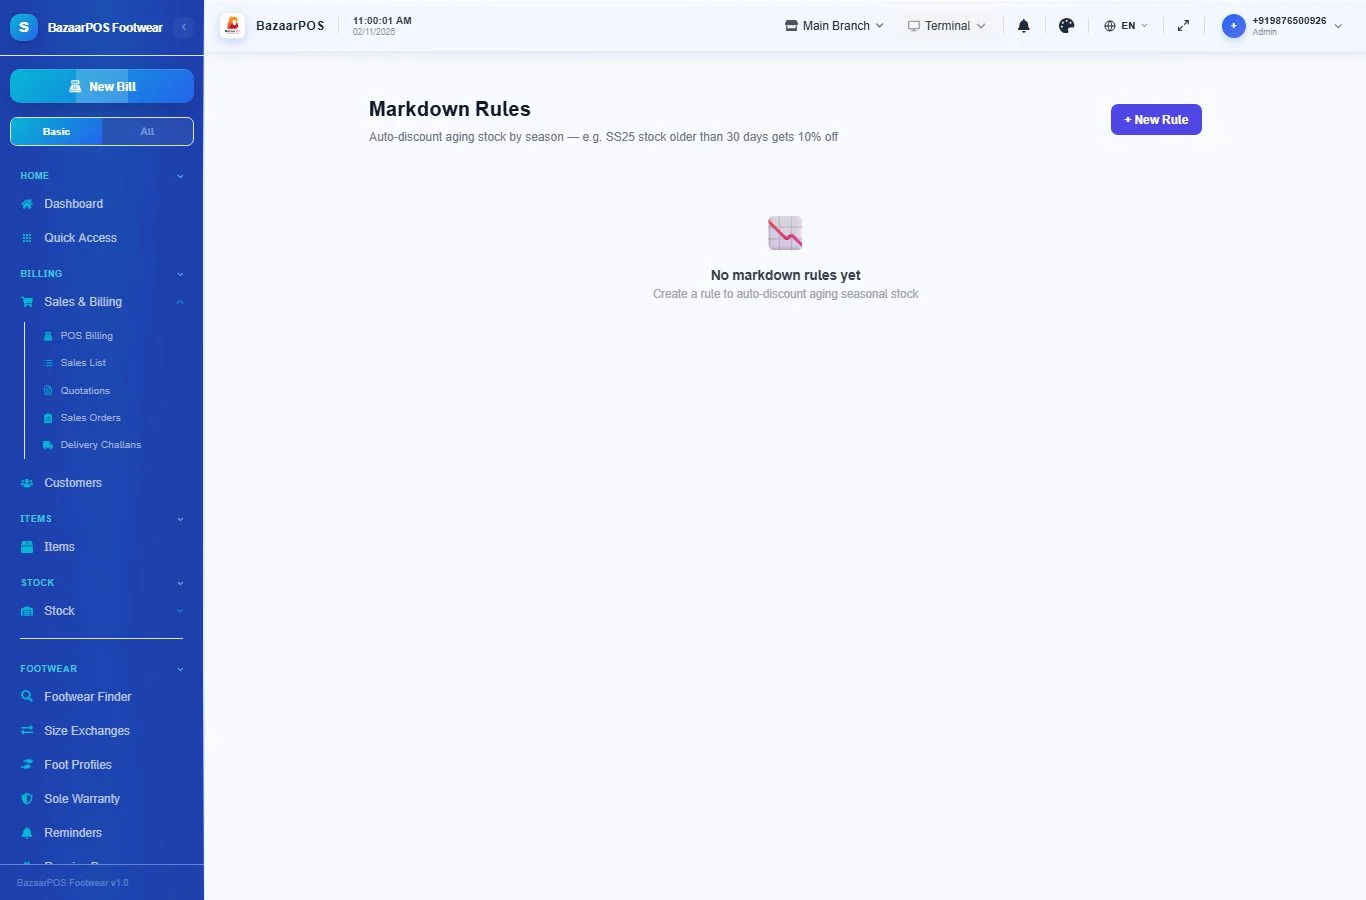
Open Sizes & Stock → Odd Sizes to see articles where some sizes are sold out while others are not, so you can fix them or sell them off. Use Markdown Rules to mark down end-of-season stock by rule, with a preview before it is applied.
Step 12: Fast and slow sizes
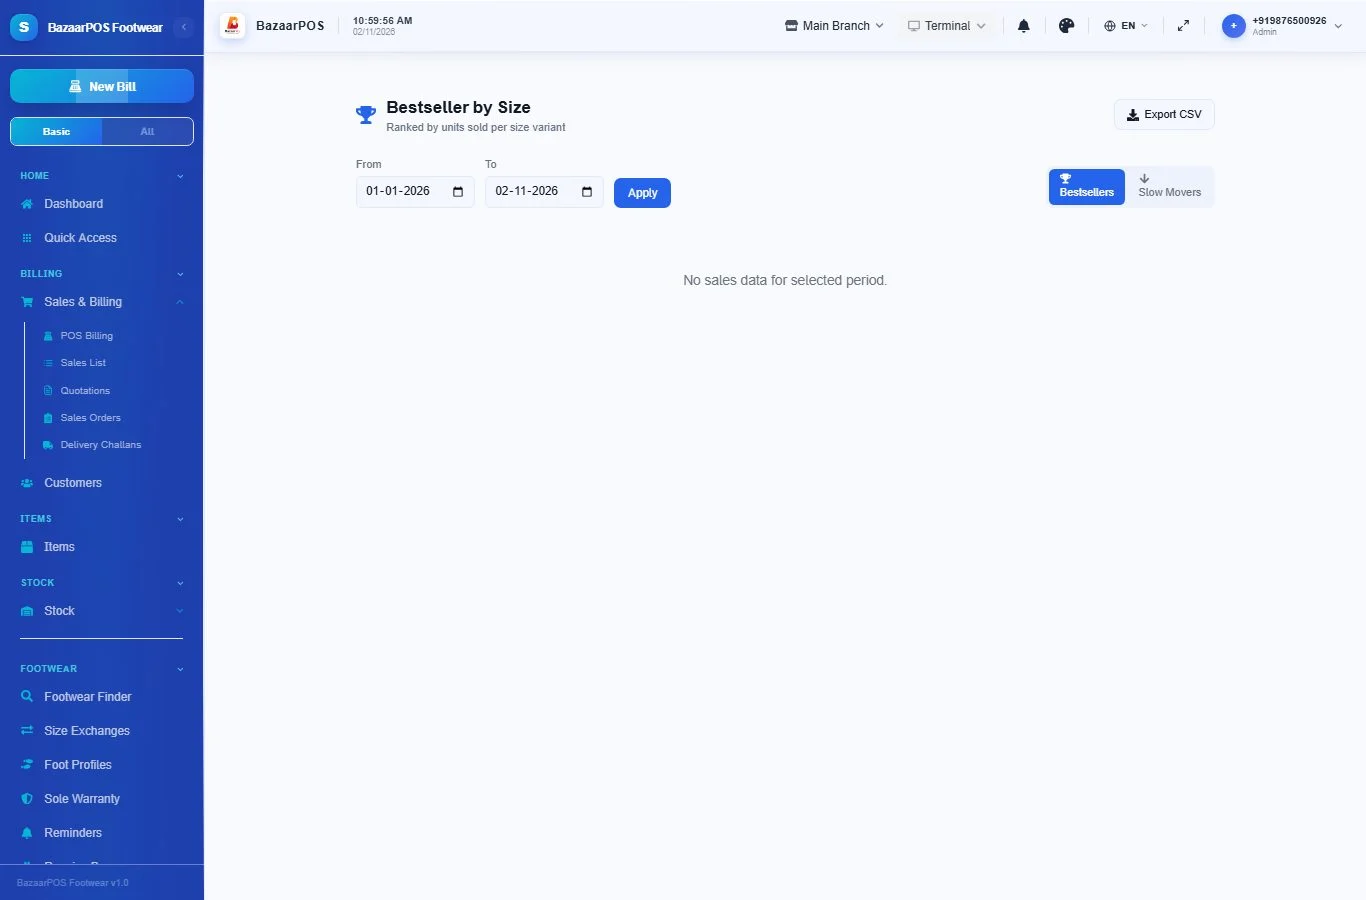
Open Sizes & Stock → Fast & Slow Sizes (and Size Curve) to see which sizes sell and which sit on the shelf, by brand and category. Use it to decide what to buy next.
Also useful for a shoe shop
- Repairs and polishing, with a tracking link: see Repairs.
- Paying in instalments: see Lay-by.
- Offers such as two pairs for a price: see Promotions.
- Barcode labels per size and colour: see Barcodes.
- Counting stock: see Stock count.
Which plan includes what
The Footwear Store comes in Basic, Advanced and Enterprise plans. A screen your plan does not include shows a message with how to upgrade.
- Basic: billing, items, customers, reports, size and colour variants, the Footwear Finder with the size converter and shoe details, and Size Exchanges with the report.
- Advanced: everything in Basic, plus Foot Profiles, Sole Warranty, Reminders, the Size × Colour Grid, Odd Sizes, Size Wishlist, Markdown Rules, Fast & Slow Sizes and Size Curve.
- Enterprise: everything in Advanced, plus Receive Boxes, Size Run Packs, Size Requests between branches, more than one branch and AI sales forecasting.